
RT-950 CPS
The boot picture on the radio.
RT-950 CPS is a Linux program for the Radtel RT-950 Pro. One Rust binary edits a .950pro codeplug and reads and writes it over the programming cable. It does not start the OEM Windows CPS, Mono, or Python, and it does not flash firmware.
The window has six pages: Global, APRS, Channels, Shortwave, AM, and FM. Open and Save use .950pro. Choosing a .dat leaves that file unopened. Write asks before it programs the radio.
The boot picture is a one-way send of an uncompressed 24-bit BMP, 240 by 320. APRS Listen plots stations within 100 miles. Beacon writes one KISS frame and does not key the radio.
The user guide is in the release zip. setup.sh can add the account to the dialout group. That membership applies after you log out and back in.
Download the latest release. The current build is rt950-cps-1.2.0.zip.
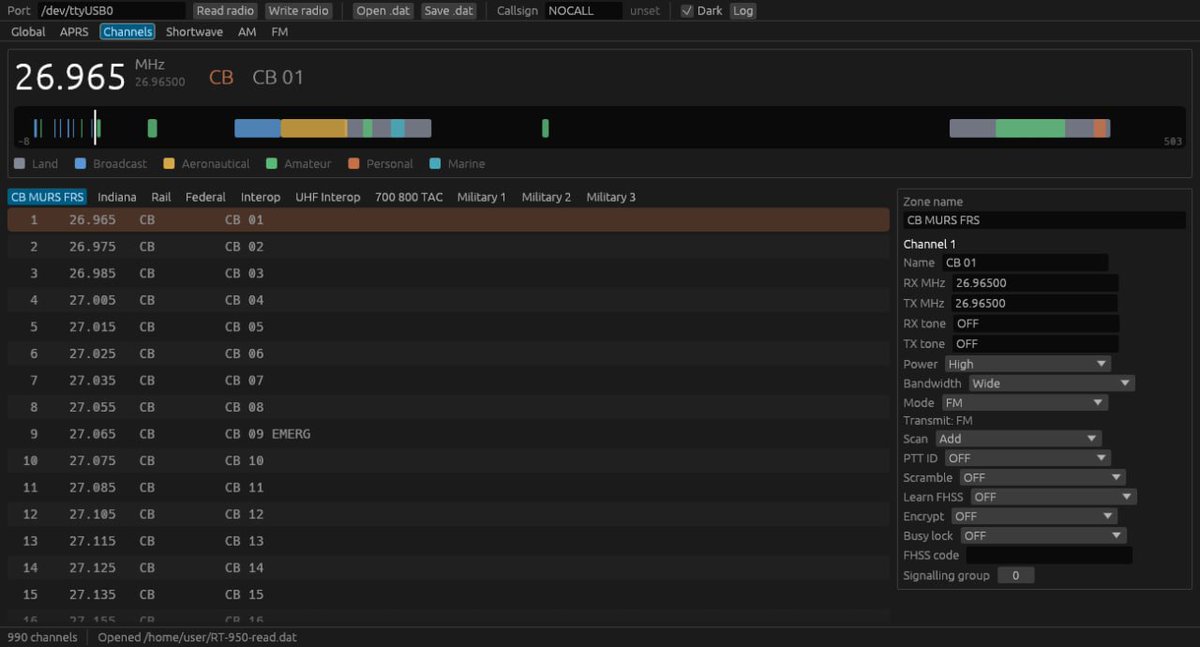
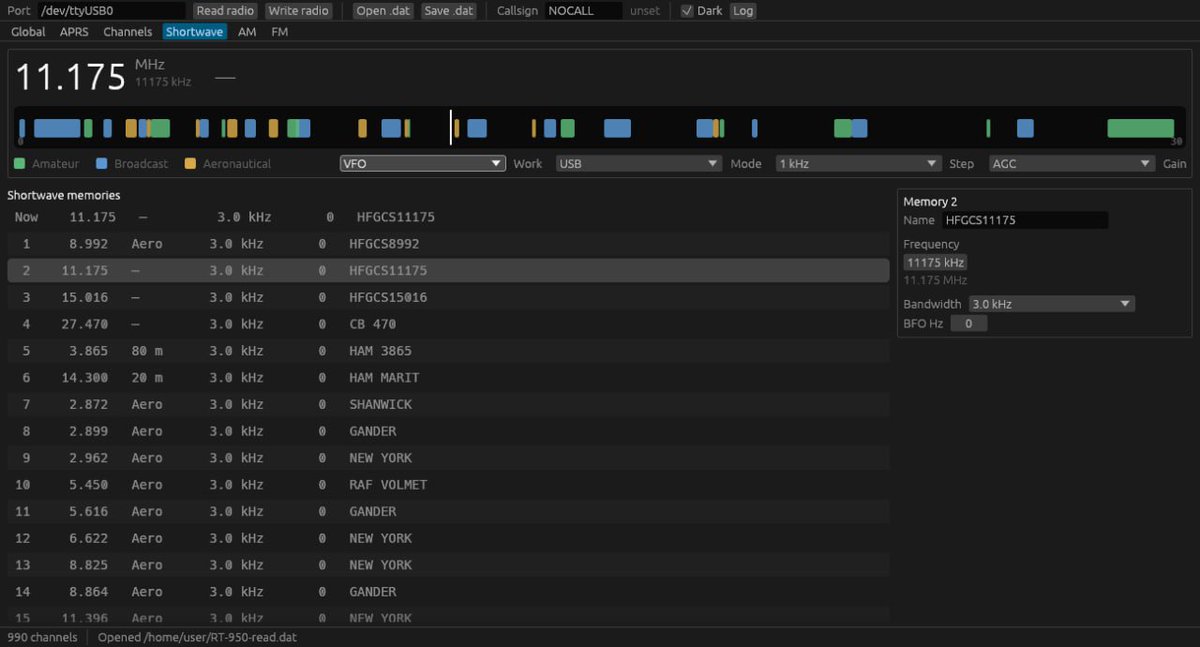
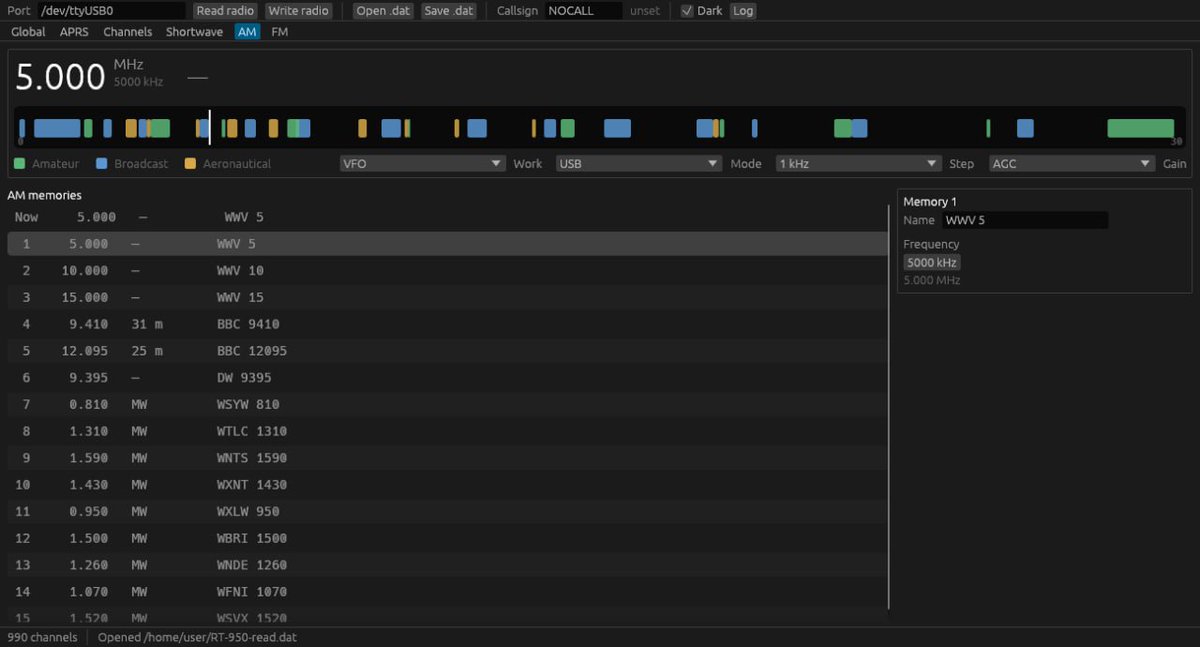
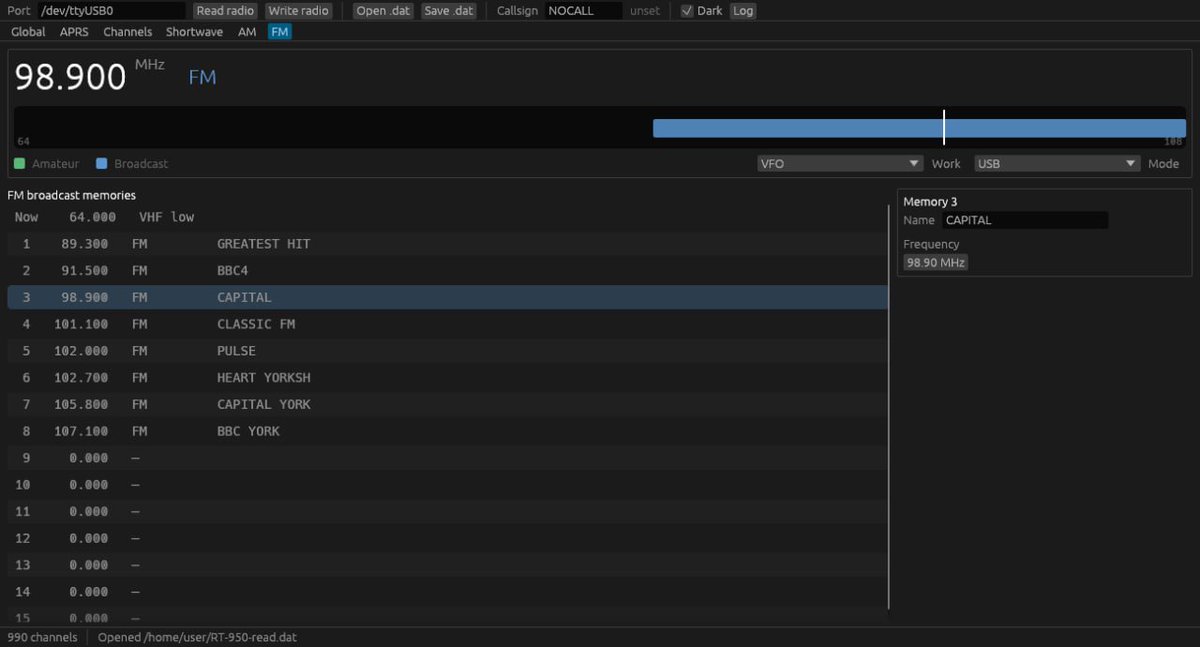
Specs
| Radio | Radtel RT-950 Pro |
|---|---|
| Program | rt950-cps, one Rust binary |
| Platform | Linux |
| Codeplug | .950pro. A .dat file is not opened. |
| Cable | Programming cable. The account needs the dialout group. |
| Boot image | Uncompressed 24-bit BMP, 240 by 320 |
| Firmware | This program does not flash it. |
Ham Spot HS-736USB
Arduino Nano port
The same FT-847 to FT-736R CAT translator now runs on an Arduino Nano or Uno (ATmega328P). The computer still speaks Yaesu CAT. The radio jack is still TTL. The firmware is GPL-3, in the Arduino directory of hamspot/hs736usb on the arduino-atmega328 branch.
Feature overview
- The USB port is 4800 baud, 8 data bits, no parity, 2 stop bits, no handshake. The default dialect is the FT-847 (Hamlib
-m 1001, Ham Radio Deluxe, SatPC32). Ground pin A1, or send CATA5 73 36 02 FC, to speak native FT-736R (Hamlib-m 1010). - The radio CAT jack is TTL at 4800 8N2 on the 6-pin DIN. Arduino D9 drives S.IN (DIN pin 2). D8 reads S.OUT (DIN pin 4). Ground is DIN pin 1. There is no MAX232. Do not connect DIN pin 6 (+13.8 V) to the Arduino.
- Memory channels are not supported. Put the radio in VFO, and satellite mode in VFO, before CAT control. Commands for features the FT-736R does not have are ignored. 1240 MHz is sent to an FT-847 host as 240 MHz, because the 847 frequency field has no 4 MHz digit.
- Accessory pins: D2 is a PTT output, D4–D7 are one-hot band lines for 50, 144, 220, and 430 MHz, D3 is an S-meter PWM, D10 reads CAT BUSY, and D13 is the dialect LED (high = FT-847).
- The front panel is optional. The default build uses an MCP23017 at I2C address 0x20, with A0–A2 grounded, to drive a bare 16×2 HD44780 (no I2C backpack) and a KY-040 encoder. One detent is 1 kHz in AM or FM, and 100 Hz in SSB or CW. A short press moves the digit cursor. A long press cycles the mode.
HS736_MCP=8uses an MCP23008 and puts the shaft switch on D12.HS736_MCP=0is CAT only, with no display and no encoder.
Specs
| Controller | ATmega328P (Arduino Nano or Uno) |
|---|---|
| Host port | USB, 4800 8N2, no handshake |
| Radio port | FT-736R CAT, TTL 4800 8N2 |
| Supply | USB 5 V. Do not use the radio’s 13.8 V CAT pin. |
| Front panel | MCP23017 at I2C 0x20 by default. Optional. |
Original device sold by Ham Spot
The text below is the PIC18F14K50 unit Ham Spot sold as hardware v1 and v2.
The Yaesu FT-736R remains a popular satellite ground station transceiver. However some modern computer software is not compatible with the CAT interface on the FT-736R. Ham Radio Deluxe, in particular, does not support the FT-736R. Ham Radio Deluxe does support the Yaesu FT-847 which has similar features. We can solve this incompatibility by programming a CAT interface to present a FT-847 to the PC and emulate the new commands not supported on the FT-736R.
Features not present on the FT-736R are ignored. Memory channels are not supported and the radio must be set to VFO, also satellite mode must be set to VFO, before enabling CAT control of the radio. 1240 MHz is mapped to 240 MHz because the FT-847 does not have 4 MHz digits.
This is an assembled version of what will be available as a kit capable of operating multiple Yaesu models.
Version 2
- 3D Printed Impact Resistant PETG Case
- Includes fully assembled board with installation of the pre-programmed IC, soldering cables and DIN plug, and assembly into the case left for the customer.
Downloads
- Hardware Version 1
- CD-ROM Contents (7MB, ZIP)
- User Manual (380KB PDF)
- Hardware Version 2
- CD-ROM Contents (10MB, ZIP)
- Wiring Diagram

- Compatible Third-Party CAT Software
- Ham Radio Deluxe 5.2 from IW5EDI (Last Freeware Version)
- Ham Radio Deluxe 6 (Downloadable Trial of latest release)

Notes
- Firmware is upgradable either by replacing the socketed chip or by unplugging and flashing new firmware on the existing chip.
- Firmware source code and binaries as well as Windows device drivers are included on a CD with the package.
- This is a slight modification of the GPL v3 licensed interface designed by Chuck Jones, N6BIL.
- The concept for this interface was developed by Dave Dowler, KA6BFB in 2010. He developed a proof of concept in software using VB and Windows.
- Item appearance may vary from the photo.
HS-PWR-3
Have you thought about converting an old ATX power supply into a bench supply? Your options are usually limited to drilling holes in the case or buying an expensive conversion kit with binding posts that still doesn't look very nice. What you really need is just a simple box to hide all the wires with a place to mount connections, right?
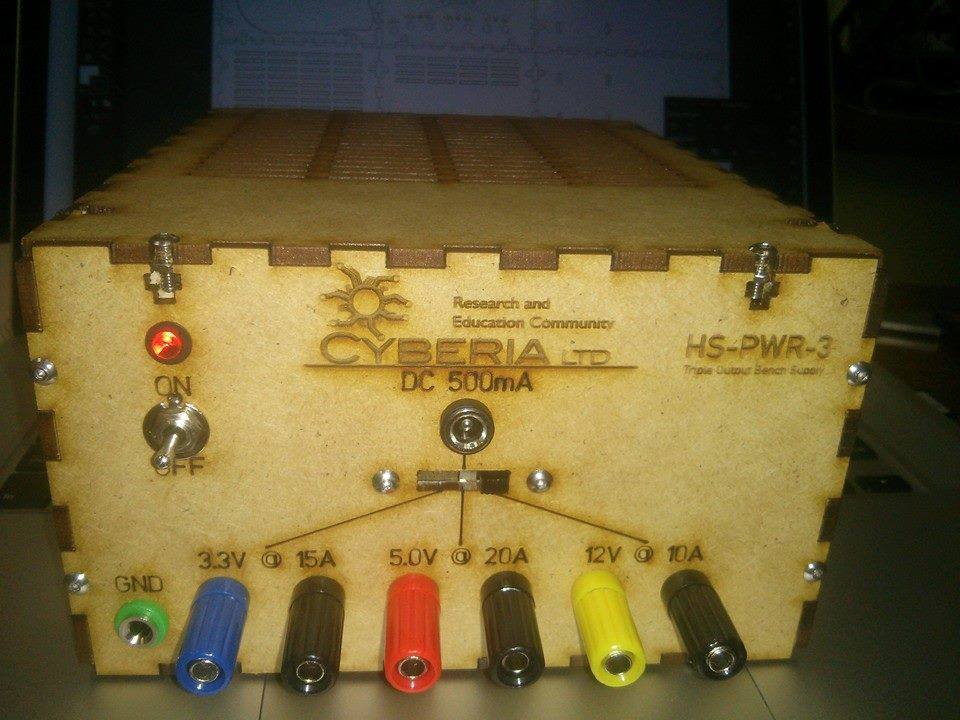
The HS-PWR-3 includes the parts for a triple output connection to your ATX supply with selectable voltage coaxial power jack. You can wire this any way you like but our suggestion is to wire 3.3V, 5V, and 12V to the banana jacks and tie each of those to the 3-position switch feeding your coaxial power jack. Also included is a separate ground lug that works with most wrist straps. Your ATX supply should be grounded to the electrical ground and you can wire this lug directly to the chassis ground.
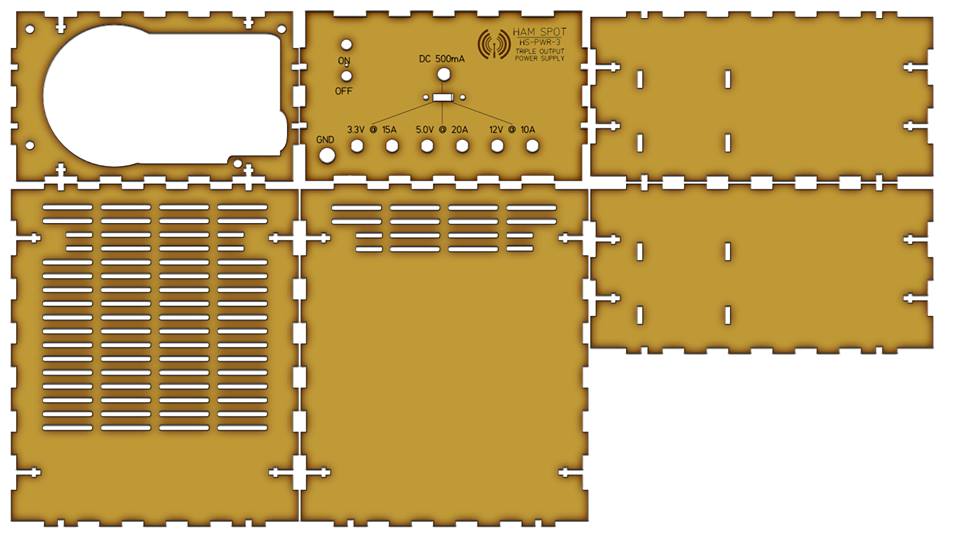
 The HS-PWR-3 case is designed to fit standard size ATX power supply dimensions of 150mm × 86mm × 140 mm. The top and bottom plates are interchangeable and can be flipped around either direction to accommodate different cooling arrangements. There are T slots for screws (usable but not very durable) or you can use super glue (recommended and very strong) in the finger joints. Perhaps a more flexible option is to use the T slots for the front and rear to allow servicing but glue the top, bottom, and sides for durability.
Included in Kit
- 6 Laser cut MDF Panels
- 1 On-Off Toggle Switch - Standby Power
- 1 Red LED - Power Good Indicator
- 1 DC Coaxial Power Jack Chassis Mount - DC Out
- 4 Position Toggle Switch - Off, 3.3v, 5v, 12v selectable to DC Out
- 3 Black 5 Way Binding Posts - Negative Terminal for each Bus
- 1 Blue 5 Way Binding Post - 3.3v Terminal
- 1 Red 5 Way Binding Post - 5v Terminal
- 1 Yellow 5 Way Binding Post - 12v Terminal
- 1 Green Chassis Banana Lug - Wrist Strap Connection Point
- 10 Sets of 4-40 Screw and Nuts for switch mounting and front/rear panels.
Not Included in Kit
- Superglue - for the top and side panels
- Extra screws if you want to use screws instead of glue along side panels (not recommended)
- ATX Power Supply